Bronze Loss Wax Process
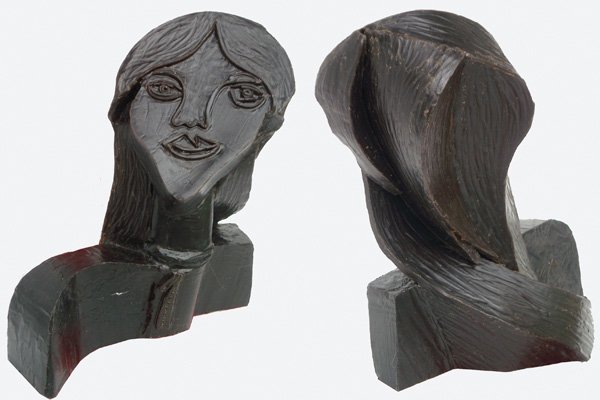
The bronze pieces are created directly from microcrystalline wax sheets, and are one of a kind; no molds are made for any of my figures. This figure, Lydia, is hollow and was started with the wax that I poured into sheets to use in the construction.
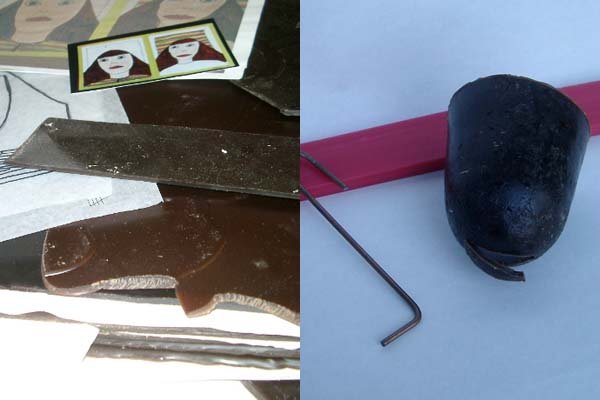
I found inspiration from children’s self-portraits from my teaching and instruction. I interpreted the flat drawings into 3D. The left shows some drawings of the Meghan figure, wax sheets, spruing wax in red, and wax pouring cups.

The Lydia head is completely sprued at this point. Advise is needed to understand the flow of the molten bronze at 2100 degrees F. Notice that a portion of the head has been removed to allow for proper investment material to become a “glove” into which the bronze metal will be poured after the wax is burned away. Notice the removed “plate” portion of the head is attached to this main red spruing system to be cast also. This will be welded back in place after the piece is poured and cleaned up.

These images illustrate the first two dippings into the investment slurry. Each dipped piece must be covered in the proper weight of “sand” after each slurry dipping. in this case zircon sand was used in the first dip, The one second coat uses a fine silica sand after the second dipping. Each step must be allowed to completely dry before proceeding with subsequent coats.
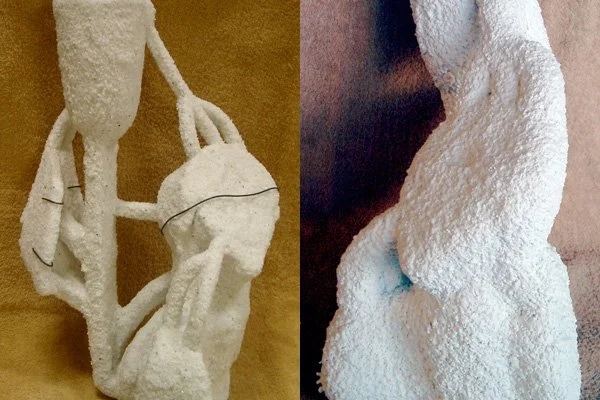
After the 7th ceramic shell coat of the slurry and sand, wire reinforcement will be secured to guard the ceramic material from cracking in the burn out process. The wax will expand and if not properly thick enough or without wire reinforcement, one runs the risk of loosing all the work if the wax breaks the ceramic shell before it is fully vitirified, and then again when the bronze enters the cavity in the actual pour. The Lydia figure on the right has completed the required 11 dippings. The last slurry coat is not sanded so the surface will not shrug off sand in the next steps.

The top of the pour cup is cut off with a circular table saw. The pour cup, positioned at the top of the investment, will become the “funnel” into which the bronze will be poured. The pieces are put in upside down on the floor cavity grate, where the top of the burn out kiln is lowered over the pieces to fire the investments and burn out the wax – hence the term, loss wax.

After the wax is burned out, the investments are allowed to cool and then they are re-positioned in the same kiln that was used for the burn out, now with the pour cups facing the ceiling. The tubes at the top of the photo are the flexible gas tubing to deliver into natural gas to the torch-like burners. To have a successful pour, the investments need to be re-heated just prior to pouring in the molten bronze
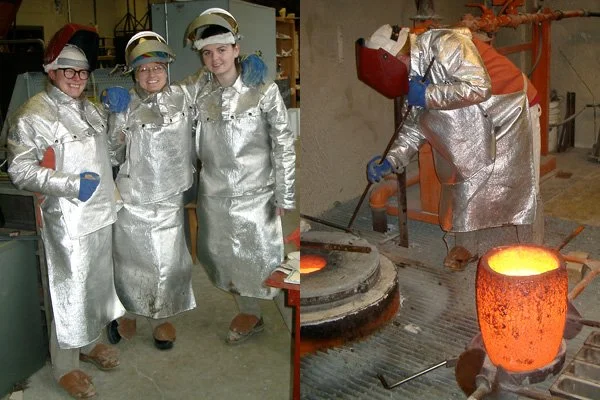
The pour team on this day was Line, Teri, and Sam, at the Millersville University sculpture foundery. In preparation to the pour, Line attends the molten bronze skimming off the skum and with help, lift the crucible from the furnace. Hot, heavy, hard work; all women!
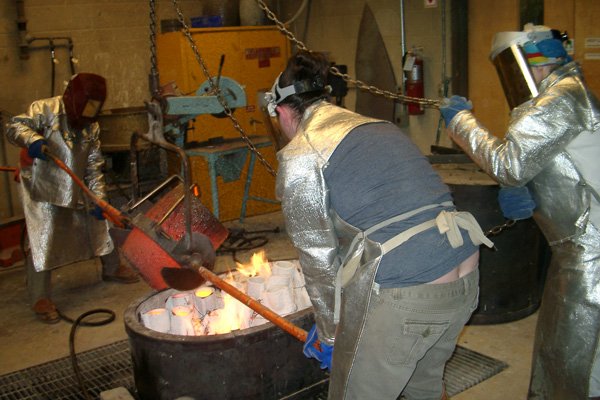
I handle raising and lowering the burn-out kiln top and move the crucible horizontally above the investments. Line pours while Sam moves the crucible every so skillfully over the pour cups.
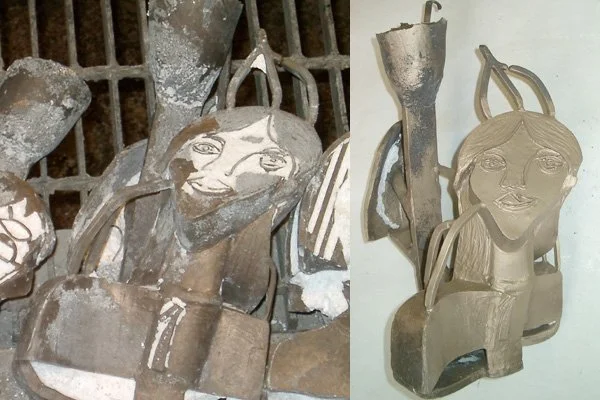
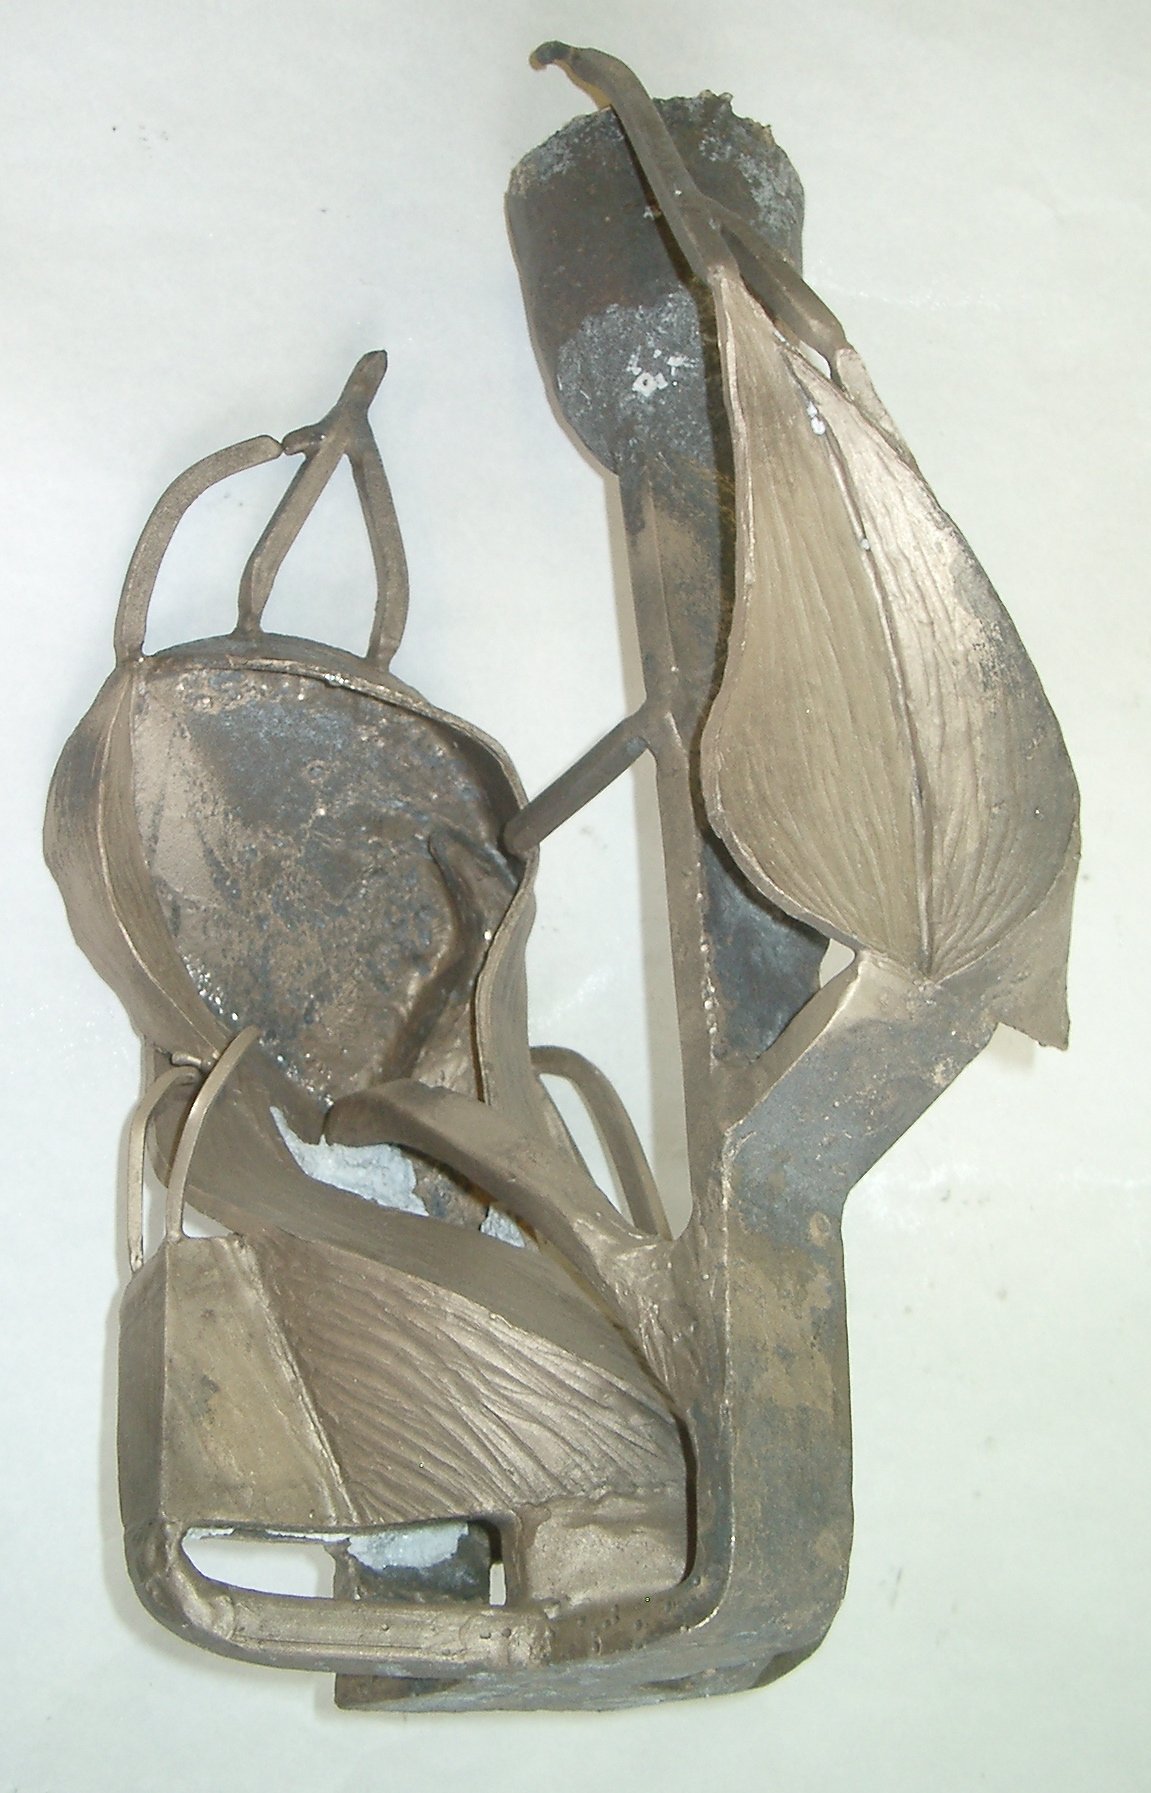
Bronze is very fragile until it is completely cool. It is best to wait until the next day to avoid any heartbreaking loss. The pieces then undergo a lot of hard work with breaking off the ceramic shell to expose the full bronze which is then bead blasted to get to the raw metal. We try to remove as much investment as possible, although some does remain as seen on the right. Note – this piece is hollow, just as the wax construction was. Bronze is not meant to be solid with any size as shrinkage of the metal occurs resulting in surface flaws, and the piece would be too heavy.
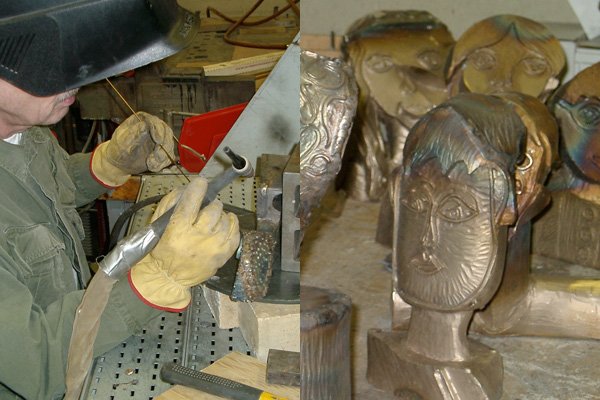
I am not a welder. I removed all the investment materials and bead blasted to prepare them for Ike to cut off all of the spruing systems, and weld the top caps back into place. The spruing systems, completely cleaned with bead blasting, will go back into the crucible with fresh ingots of bronze for the process to start all over again.
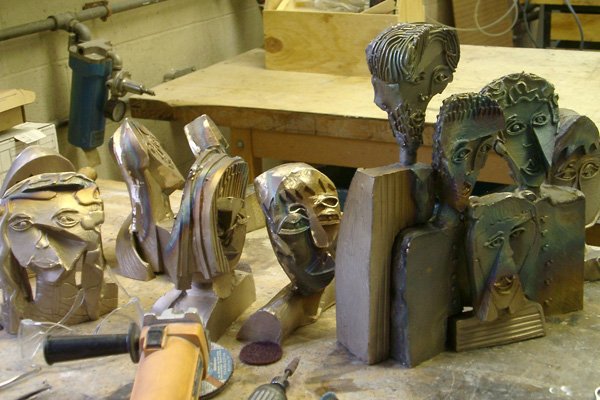
Eleven of my pieces await the next laborious process for me to grind and chase the metal to remove the make the weld seams disappear to the surface that was the original wax. I used the MU sculpture studio pneumatic tools with compressed air for this noisy dirty process. It is exciting and invigorating, and very hard on the body.